
How to Start a Lip Gloss Line with $300 (2026 Step-by-Step)
-
jyybeauty
- Posted on
- 0 comments
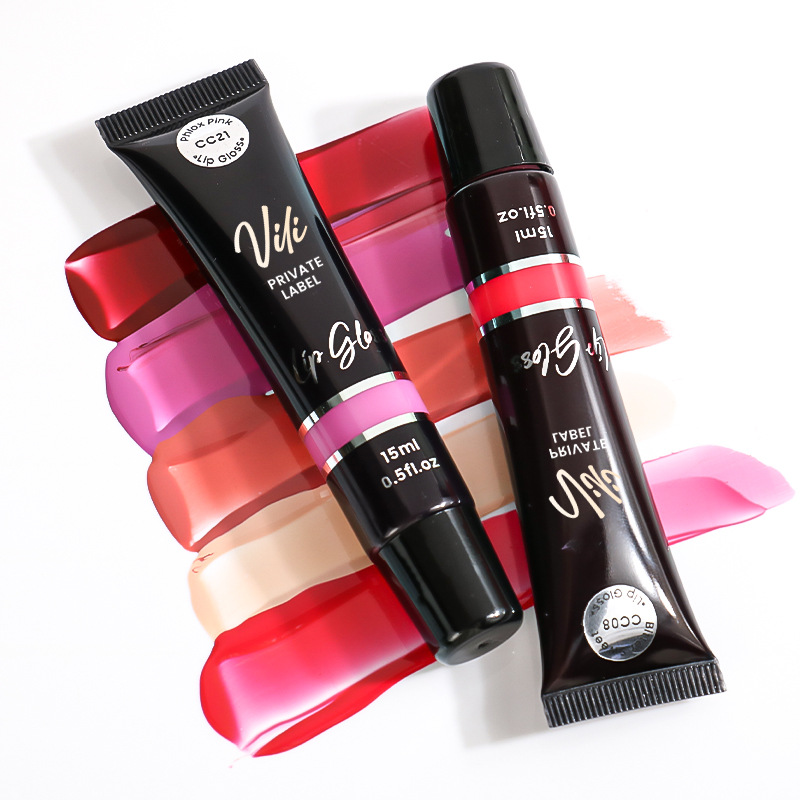
Here’s a lean, very practical way to start a lip gloss line with around $300 in 2026, focused on testing demand first instead of going “full brand” too early.
Big picture: what $300 can realistically do
With $300, you are not building a full brand line; you are running a small paid test to prove:
- People like your formula and shades
- They are willing to pay your target price
- Your positioning makes sense (vegan, glossy, plumping, clean, etc.)
Think of it as a “beta drop”: 20–30 units, 2–3 shades max, sold through one simple channel (e.g., Instagram + DM or a basic link-out checkout).
Step 1: Clarify your micro-niche and offer
Before spending money, decide three things:
- Who you’re targeting (e.g., “Gen Z students who want non-sticky clear gloss with shimmer”, or “busy professionals who like sheer nude gloss with skincare benefits”)
- What makes your gloss different (vegan, plumping, flavored, glitter-free, etc.)
- Your initial product scope:
- 1 clear “hero” gloss
- 1 nude/mauve shade
- Optional 1 bolder, on-trend shade (cherry, berry, or a shimmer)
This helps you avoid ordering random colors that don’t fit a clear story.
Step 2: Choose DIY vs. private/wholesale (for $300, keep it tiny)
From current guides, typical “real” launches cost at least several hundred to thousands, mainly because of higher MOQs, packaging, and legal setup. To stay around $300, you need to:
- Use very small quantities (or bundles) from suppliers
- Use simple packaging and minimal branding
- Sell directly (no complex site or paid ads yet)
Two realistic paths with $300:
- DIY small batch (you mix base + pigment)
- Buy pre-made lip gloss base, pigments, flavors, and simple tubes
- Pros: tiny quantities, high control, very low MOQ
- Cons: you handle making, filling, and consistency yourself
- Small wholesale or vendor bundles
- Buy small bundles of pre-made glosses from vendors (often on platforms like Alibaba/AliExpress or specialized cosmetic vendors) and focus on branding and selling
- Pros: easier execution, more consistent formula
- Cons: less customization, need to check documentation and ingredients carefully
For a test run with your professional background, DIY or micro-wholesale bundles both work; DIY gives more creative control, wholesale is faster.
Step 3: Draft a $300 budget (example)
Here’s a sample way to allocate $300 for a micro-launch:
- Product materials or vendor bundle: ~$120–$150
- E.g., lip gloss base + pigments + flavors + mica + 25–30 tubes
- One example breakdown from a maker-focused source: roughly $90 in base, color, and packaging can yield about 25 units at around $3.60 per unit cost; adjust up a bit for extra supplies.
- Simple branding + labels: ~$40–$60
- Basic logo (DIY in Canva)
- Printed labels via a budget label service or home-printed clear labels
- Basic shipping & packaging: ~$40–$50
- Bubble mailers, tissue, small thank-you cards (low-ink design)
- “Storefront”: ~$0–$50
- Option A: Free — Instagram/TikTok + payment links (PayPal, Stripe links, etc.)
- Option B: Simple low-cost website using a basic plan or marketplace listing
- Contingency: ~$20
- In case of extra tools (pipettes, mixing bowls, digital scale) or unexpected fees
You can adjust the mix, but the key is: no heavy legal/website spend at this stage; treat this as product-market-fit testing.
Step 4: Get micro-supplies and samples first
Whatever route you choose, never jump straight into a big order. Current resources strongly stress ordering samples and testing before production.
- If DIY:
- Buy small-size lip gloss base and pigments from a reputable cosmetic ingredient supplier
- Grab 25–30 tubes (squeeze or wand tubes) in simple clear packaging; simple plastic tubes can be very affordable in small lots
- Add 1–2 flavors and maybe one “feature” (plumping active, shimmer mica, etc.)
- If private-label/wholesale:
- Order sample sets, test texture, scent, wear time
- Check that supplier provides ingredient lists and basic documentation
Use this phase to:
- Test shades on different skin tones
- Check stability and separation over a few weeks
- Ensure no irritation for testers
Step 5: Bare-minimum branding that still feels premium
You don’t need a full visual identity project; you need just enough to be consistent.
Focus on:
- Brand name and tagline that clearly signal your niche
- One main font, one accent font, and 2–3 brand colors
- Simple logo mark you can reproduce easily on labels and socials
- Compliance-friendly labels: shade name, net weight, basic ingredient information per cosmetic guidelines (check FDA cosmetic labeling guidance as you grow)polliam+1
Given your background in web and content, you can create:
- A short brand story emphasizing benefits (non-sticky, high shine, clean ingredients, etc.)
- Product descriptions that are concise and benefits-led
Step 6: Choose one simple sales channel for the test
Instead of spreading yourself across many channels, pick ONE main channel where your audience actually hangs out.
Good low-cost options:
- Instagram: product photos, reels, and story drops; sell via DMs + payment links
- TikTok (or TikTok Shop if available in your region): short-form demos and “get ready with me” style content
- A simple one-page site or marketplace listing (Etsy, etc.) if you want more structure
For this $300 test:
- Set a clear launch date
- Pre-announce: share gloss textures, swatches, ingredient highlights in the days before launch
- Offer a small “beta batch” number (e.g., “First 25 customers only”) to drive urgency
Step 7: Price for profit, even at micro-scale
Resources on small-batch gloss consistently emphasize calculating your cost per unit and adding a margin that makes sense.
Example (rough idea using one of the cost examples you saw earlier):
- If total materials and packaging cost is around $90 for 25 units, your per-unit cost is about $3.60 before shipping/fees.
- Add a reasonable margin and market context:
- Many glosses sell between mid-teens to high ranges, but for a new micro-brand test, something like $12–$16 can work depending on your niche and perceived value.
- Factor in:
- Platform/payment fees
- Your time (at least mentally)
- Shipping (you can charge shipping separately or partially bake it into pricing)
Aim for a structure where:
- You at least break even or slightly profit on the first batch
- More importantly, you gain data: which shade sells, which wording converts, which channel works best
Step 8: Run the test as a learning experiment
Use your first 20–30 units to answer questions like:
- Which shades sell out first?
- Do customers care more about “plumping,” “clean,” “vegan,” or “high shine” in your copy?
- Are buyers friends-and-family only, or do strangers also buy?
- Which content format works best (swatches, lifestyle shots, before/after, etc.)?
Track:
- Number of posts vs. sales
- DMs and questions (these are valuable for refining your FAQ)
- Feedback on texture, scent, and packaging
This is where your content and UX skills can shine: treat feedback like UX research for a product.
Step 9: Only then, decide if you scale and formalize
Most detailed guides suggest formal steps like full legal structure, business licenses, and insurance once you’re committed to scaling. Those often push total startup costs into the $800+ range. With your $300 experiment, your goal is to gather enough signal to justify that next layer.
Once you see traction, then:
- Upgrade to a formal business entity and licenses in your jurisdiction
- Invest in better packaging and higher MOQs
- Build a more robust e-commerce presence